

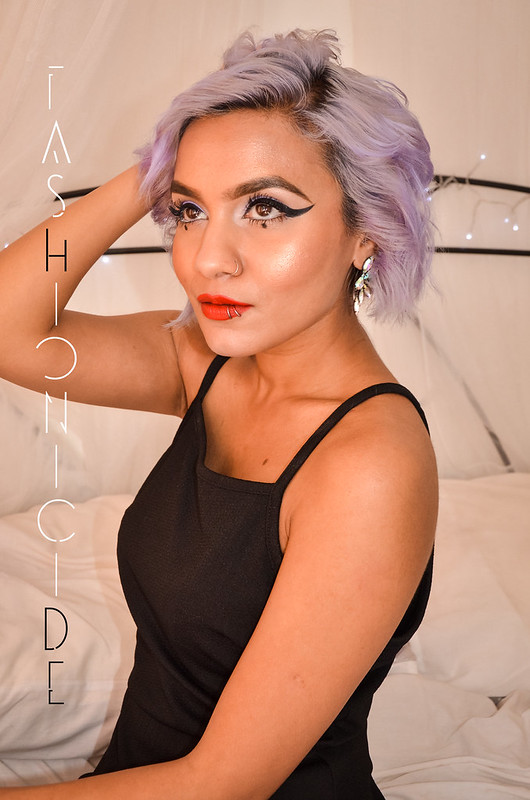
Lately, I've been hearing an awful lot about something called "Strobing". Unfortunately it isn't anything to do with the club-based lights of the same name, though that's the first image it conjures up. Obviously I had no idea what it was all about, so I did a little bit of digging to see what all the fuss was about.
What is Strobing?
Quite simply- highlighting! But not just your standard routine highlighting, Strobing is where you highlight your face excessively to give your skin that extra sweaty glow.
Now usually in the summer months I tend to go a bit OTT on the powdering, as this is when my skin gets a little oilier than usual, particularly the T-Zone. However I've been weaning myself off it lately, from dusting the T-Zone and touching up at lunch, to now dusting it only once and leaving it for the rest of the day. I guess this 'summer', if you want to call it that, I've been embracing the glow!
As with all innovations and trends within the beauty world, there are all sorts of different techniques floating about on the net for strobing, however I choose to apply my highlighter to the inner corners of the eyes, the brow bone, top of the cheekbones, the chin, bridge of the nose, cupids bow, and just above the arch of the eyebrows - not necessarily in that order though!
For darker skin tones there are some amazing products out there already that compliment our skin tones, these are the two I find myself going back to time and time again:
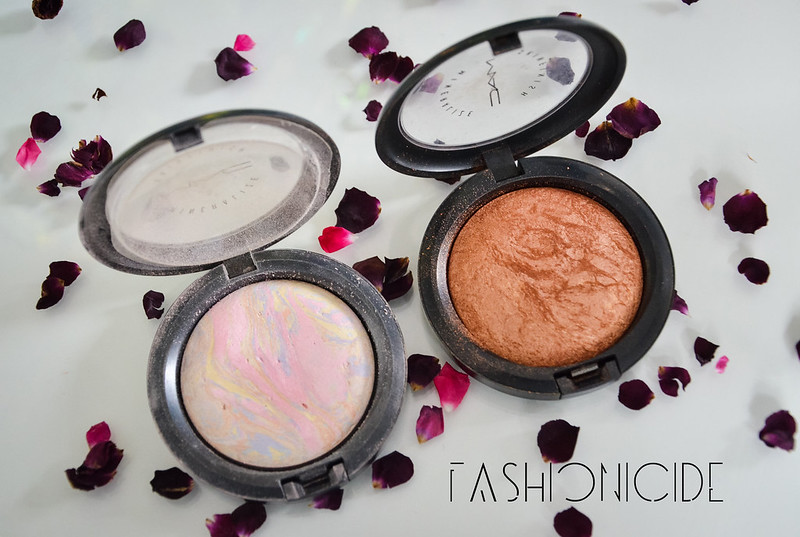
MAC's Lightscapade Mineralized Skin Finish and MAC's Gold Deposit Mineralized Skin Finish
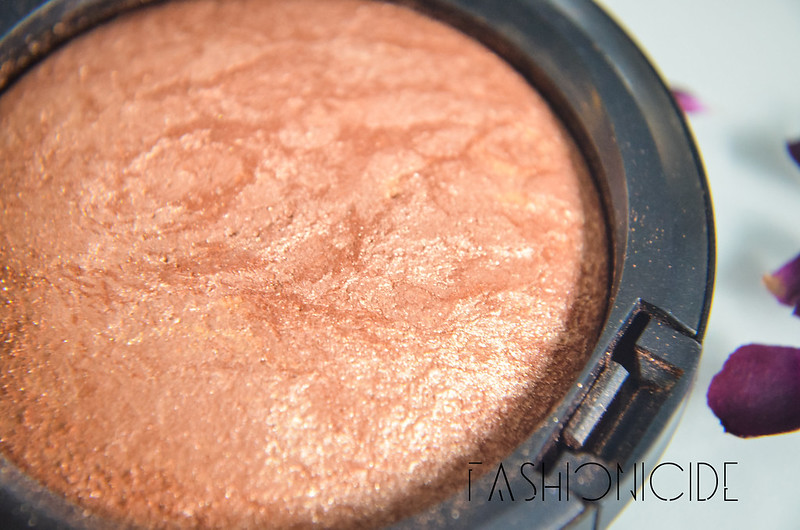
Usually, I would have gone way overboard with the Lightscapade. I've had it so long I can't remember when I even bought it (I'm thinking 2009 or 2010?), it really is timeless. But, I decided not cover myself in it, as I tan so quickly and darkly that all this sun has taken me up a shade or two. This means my beloved Lightscapade looks too subtle at the moment, which is no good for strobing!
Failing that then, I moved on to MAC's other little gem - Gold Deposit. As I've mentioned in a previous blogpost HERE, it's much more flattering for darker or, in my case, tanned skin tones. The intense pigmentation means that it's best to just lightly apply this on top of the cheekbones and above the arches of the eyebrows, I don't want to look like a buddha statue or something.
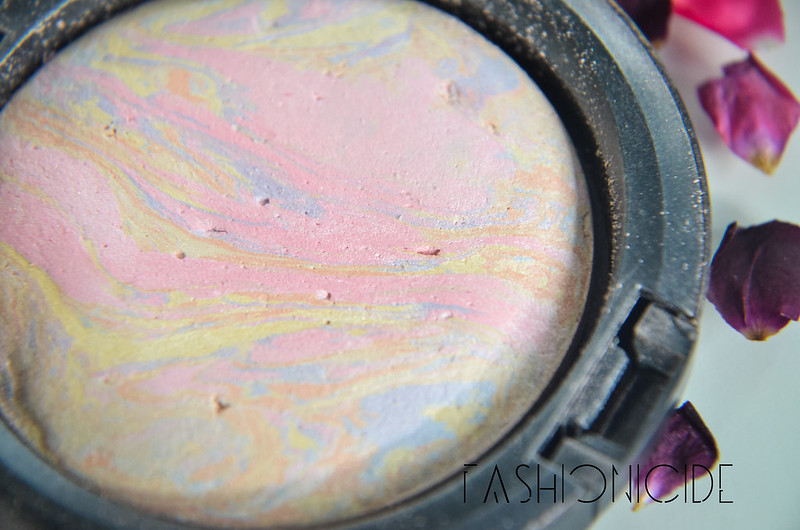
Close up of Lightscapade
Thinking about it now, Lightscapade must have been the first highlighter I ever blogged about and having re-read it, I'm going to reluctantly link to it HERE I mean, all I can say is EL-OH-EL at the entire post. How things change! Oh, and MAC did make all my dreams come true, and have now established this in their permanent line! VICTORY!
What I like so much about Lightscapade isn't just those veiny swirls of pastelly pinks, blues and everything else they've thrown in there, it isn't just that it looks like a mini Jupiter, but I find that it really does give that candle-lit glow to the face. It never appears shimmery on my skin, it's more frosted and quite subtle. Despite that subtlety, it looks so other-worldly on the skin once blended in. But a tale of caution with this, apply too heavily and it can look stark against your skin, and the white will start to show through, and that's no good for the darker skinned ladies (and gents) out there!
I remember wearing this on one of my various London trips a few years back when this was still limited edition. My friend Mina (former blogger and Space NK worker) asked what highlighter I was wearing, so I let her take it for a spin and she was instantly besotted!
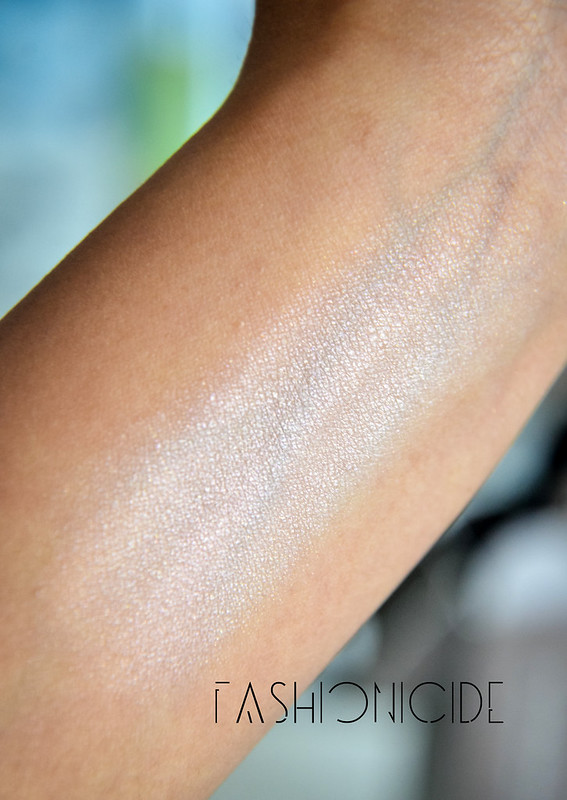
Here's a swatch of Lightscapade, applied heavily for photographic purposes, don't let this scare you though. It honestly does suit warmer skin tones if you apply lightly and blend it in well. For my Strobing look, I applied Lightscapade onto my cupids bow, brow bone, the inner corner of my eyes and down the bridge of my nose. Does it look too intense? No! See, trust me! ;)
I'm going to make it a life goal to figure out how to photograph highlighter. The first batch of 10 or so photos were taken in natural light, but it was only visible if you strained your eyes reeeeeaaaally hard. So I had to resort to flash, which I cannot tell you much I dislike, but actually it worked out pretty well this time out.
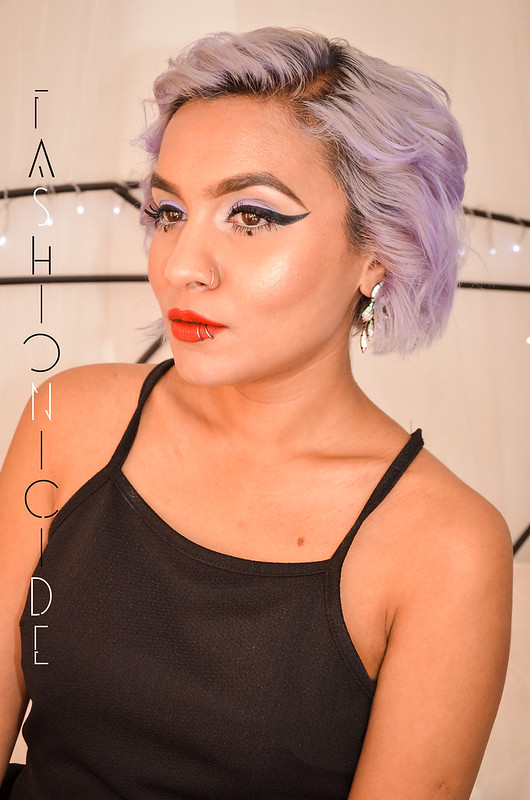
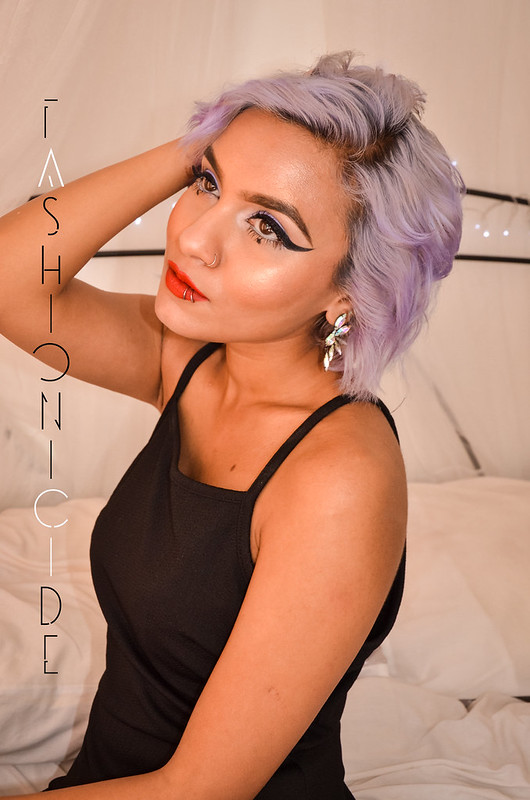
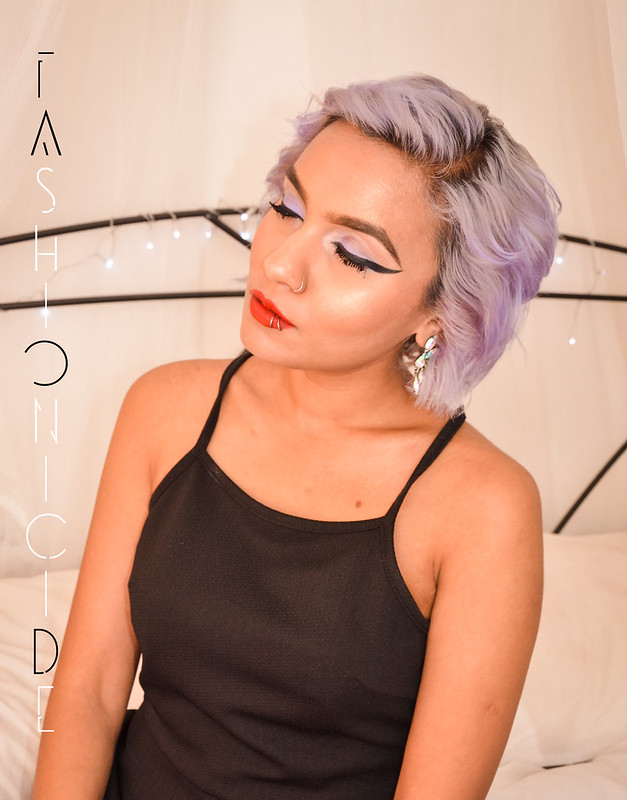
I'm still not 100% convinced you can see the highlighter as much as I could in the mirror, but you can clearly see that my face is far, far glowier than the rest of my skin. This is the whole point of Strobing, to light up your face in all the right places.
I have to say that I much prefer this 'trend' to contouring. I've never really been all that big on it, however I probably have my parents to thank for that, as I've been blessed with well-defined and structured cheekbones already (sit down Lima). Also, more importantly, Strobing is far simpler than contouring and will take you just a few minutes to get it right.
Have you tried Strobing yet? What did you think of the results? Comment below and let me know! I'm also curious to hear of any other makeup trends you've been seeing a lot of lately, and are they all they're cracked up to be?
Until next time!






0 Yorumlar